You don’t need a subscription to read today’s post!
If you’ve ever been curious about the kind of information, tutorials and advice that you’ll get as part of your subscription to Webcomics.com, this is a good example.
If you’d like to join the site, you can get a 12-month subscription for $30 — or you can get a one-month Trial for $5 … with no obligation after your 30 days expire. For less than three bucks a month, you can get a steady flow of information, tutorials and advice targeted towards your webcomic business — plus a private forum to discuss issues with other professionally minded cartoonists.
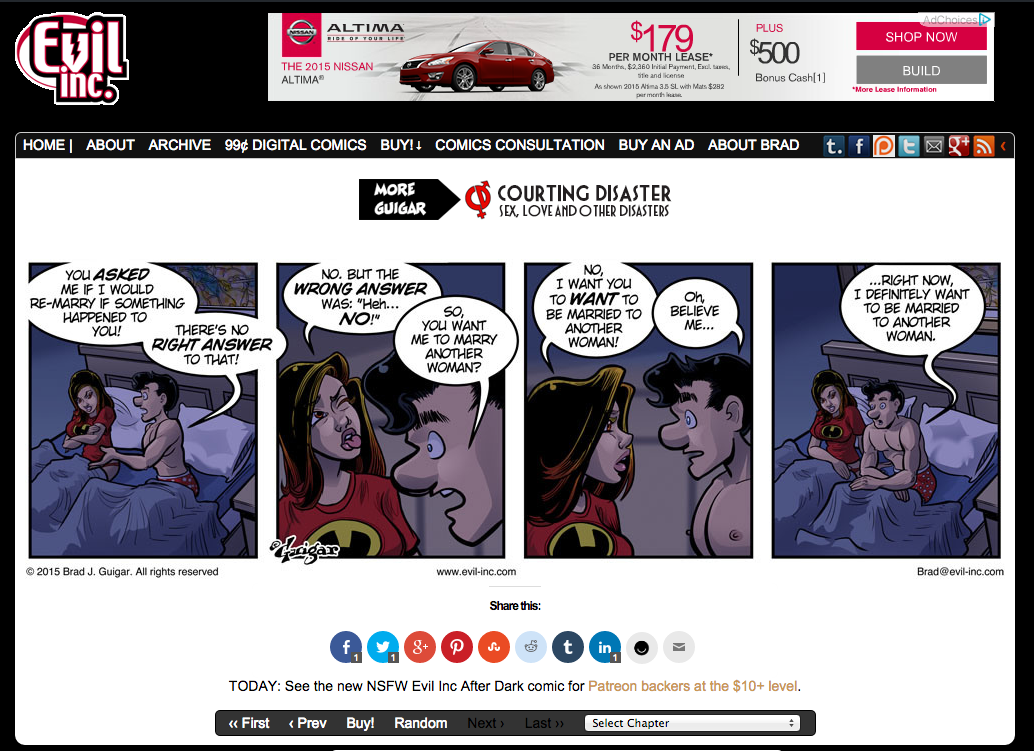
I’ve been experimenting with a new approach in Reader Outreach that I’m having very good results with. I’ve started designing several small promos (300×50 pixels) to rotate in a position directly over my comic. The reader response has been strong.
Here’s how I set it up:
Comic Easel / ComicsPress
This is the easiest way — simply place a linked image in the “Over Comic” widget. Go to your WordPress dashboard and select Appearance -> Widgets.
Place the HTML code for a hyperlinked image in the text box and Save.
Done — and easy.
Pro: Super easy, and will not get identified as an ad by most ad blockers.
Con: Non-rotatable, and requires manual updates.
Now… if you want to take this to the next level, you gotta bring in Google DFP. (However, be warned, this may flag this as an ad to some of your readers’ Web browsers.
Google DFP
I have complete instructions on getting started with DFP here. And once you’re up-and-running, check the site for a tons of excellent DFP resources and information. That being said, you can also set up a very basic banner rotation script (using javascript, PHP, etc.) to accomplish the same thing, but my advice would be to be sure to use “nofollow” links if you do.
Why should I do this?
This method of Reader Outreach actually addresses two different kinds of “banner blindness.” Banner blindness is when the users of your Web site become used to seeing ads in certain positions on the site. They habitually skip over these positions to get to the content they came to read. Leaderboard ads often struggle with banner blindness.
Placing the promos directly over the comic put them directly in the line of sight of your readers — instead of sharing ad space that they’re accustomed to skipping. And since these ads rotate, they’re usually being presented with a different promo on each pageview/return visit. And that helps to avoid another kind of “banner blindness” that occurs when readers get used to seeing the same visuals in the same places on a site repeatedly.
Bottom line, this is where your readers focus their attention. You’ve earned that attention. As long as you’re not being too distracting, you should avail yourself of that attention. The comic always has to come first, of course, but a small announcement in this area can be very visible without being loud.
Setting up House Ads in DFP
First, create a special order for your house ads, and inside that order, create a new line item. (Instructions on these steps can be found here.) Since these are house ads, you will set a Value CPM (not an actual CPM). And set the Value CPM quite high so these’s little chance of DFP sliding paid advertising into these positions.
Now, create a series of house ads. Keep them small. Remember, this is going to push your comic down on the user’s screen, so try to mitigate that effect as much as possible. A horizontal shape is going to work best here. Mine aren’t any deeper than 50 pixels.
Go ahead and create a dozen promos or more. Some good ideas include:
• promos for merchandise
• convention appearances
• entry-points to current storylines
• links to entry-points in archives storylines
• digital publications
• side projects
Upload your promos
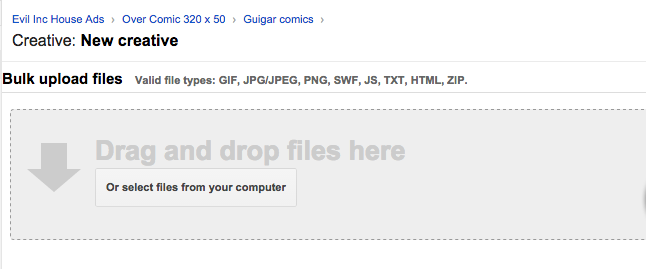
You can upload all of your ads (DFP refers to them as “creatives”) at the same time.
Simply go to the line item you created for house ads and click the “Add Creatives” button at the top. You can drag and drop multiple files to the upload window.
Add the correct URLs for each of the promos.
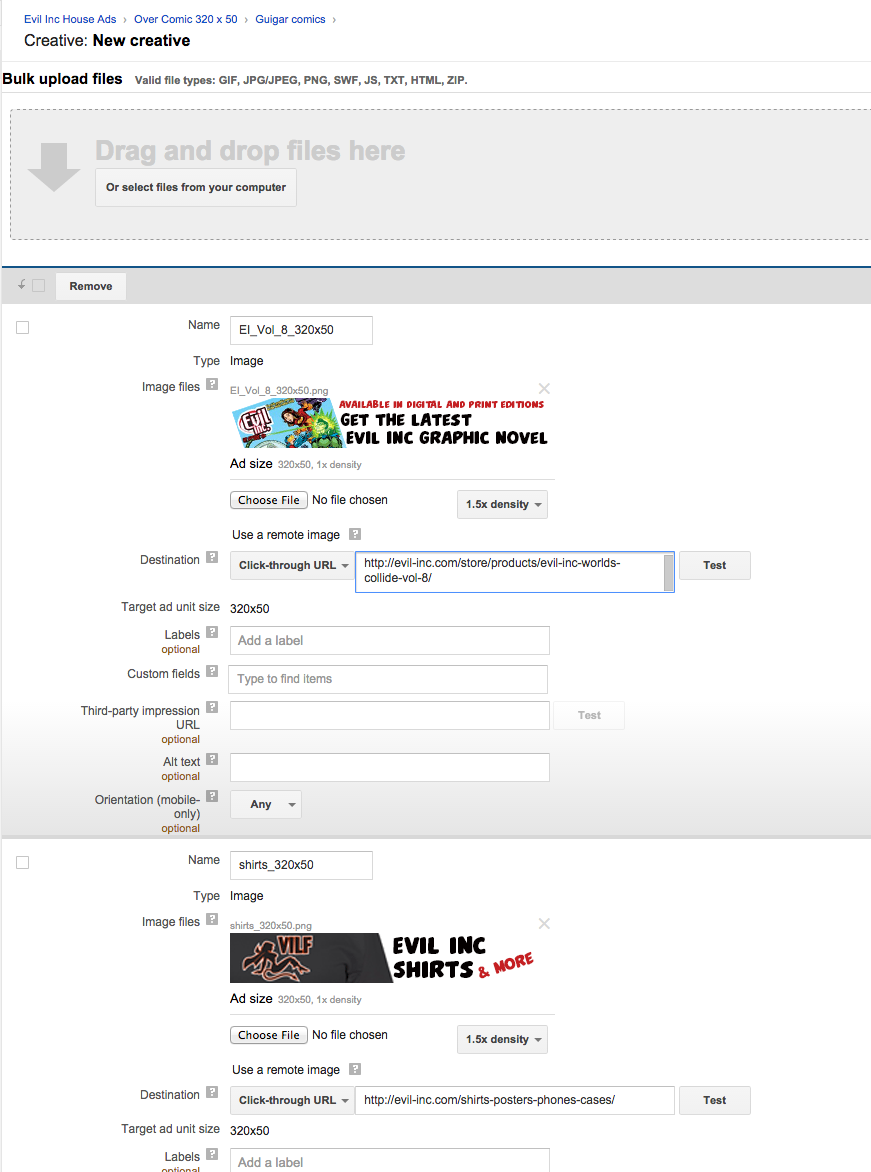
Now, it’s a simple matter of generating the tags to placing them on your site.
Comic Easel / ComicsPress
If you’re using either Comic Easel or ComicsPress, adding these ads is super-easy. Go to your WordPress dashboard and select Appearance -> Widgets.
You can place the code for the promos in the “Over Comic” widget. Or, if you’d rather, you could use the “Under Comic” widget. (Although I prefer to save that for little text-only announcements and promos.)
You’ll have some code to go in the header, too.
If your header.php file is locked, you need to do the following steps:
• FTP into your site
• Open wp-content
• Open the folder for your child theme (you should be using one).
• Download header.php
• Make a copy of it on your desktop, just in case.
• Add that code (above) after <head>
• Upload the new header.php file to your site, overwriting the old one.
You’re now serving promos directly over the comic.
Be sure to check in with DFP for time to time. It’s actually quite illuminating to see which topics get the higher click-through rates.
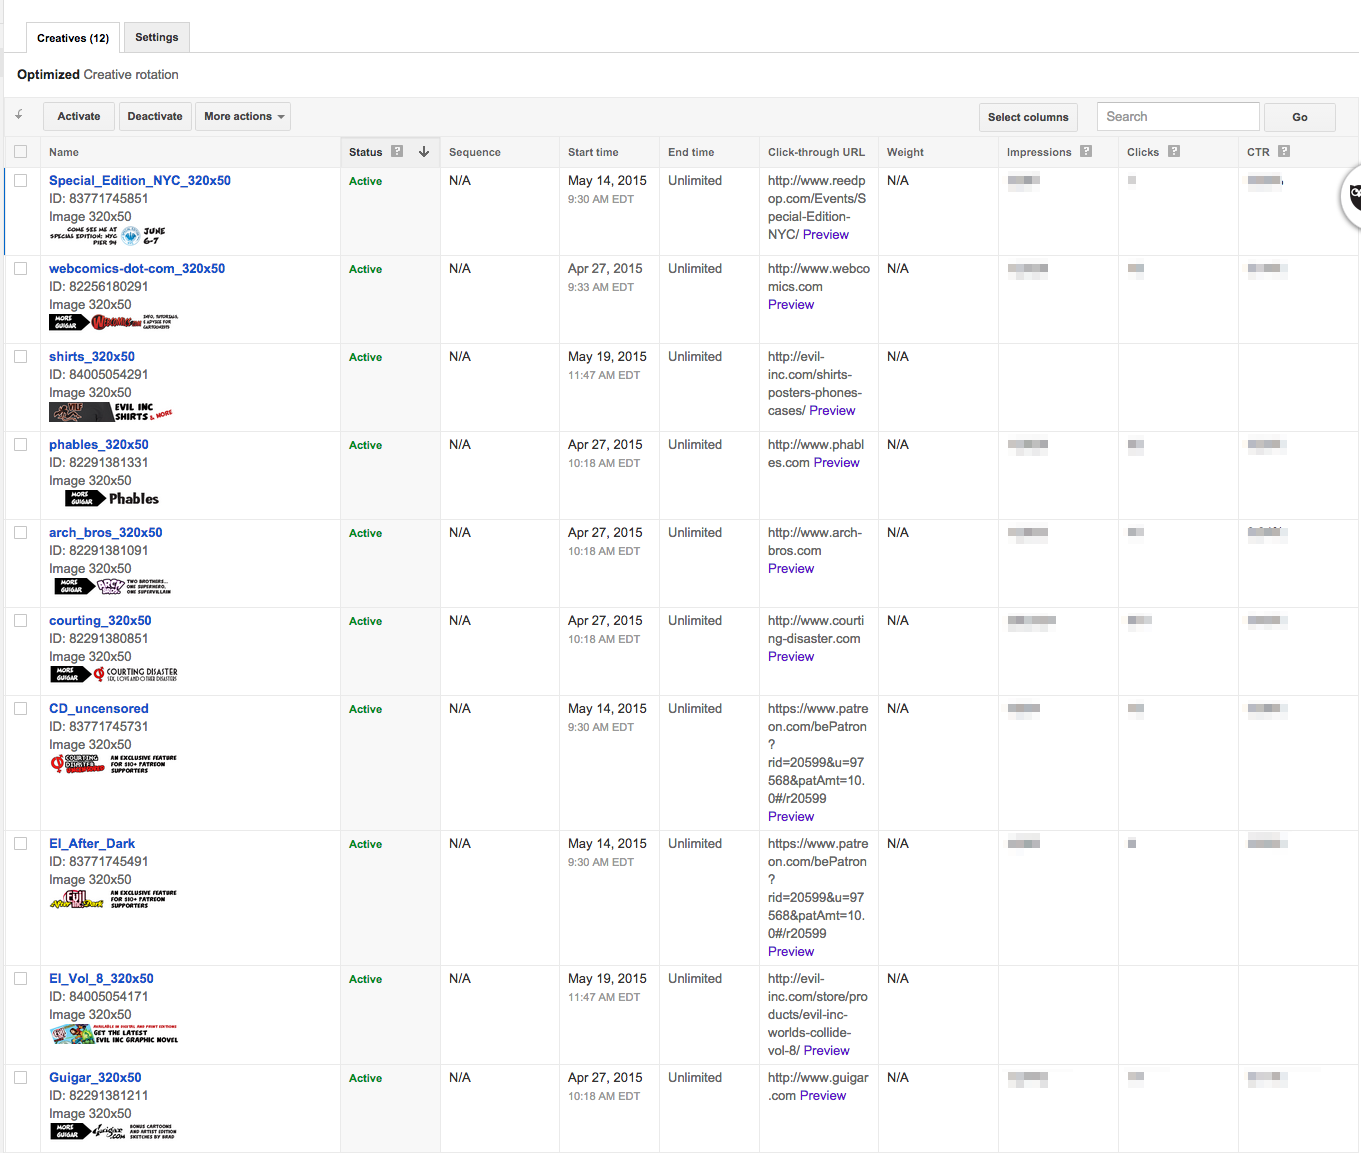
There are a couple of drawbacks. Since these are house ads, you cannot “weight” them. DFP will distribute them independently. And you cannot set an expiration date. You will have to prune promos for convention appearances, for instance, manually.
However, despite these minor inconveniences, using DFP to administer house ads has has a pronounced effect on my ability to send traffic to sites, merchandise and announcements.


